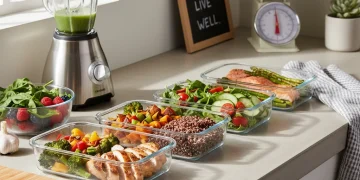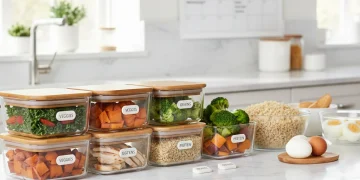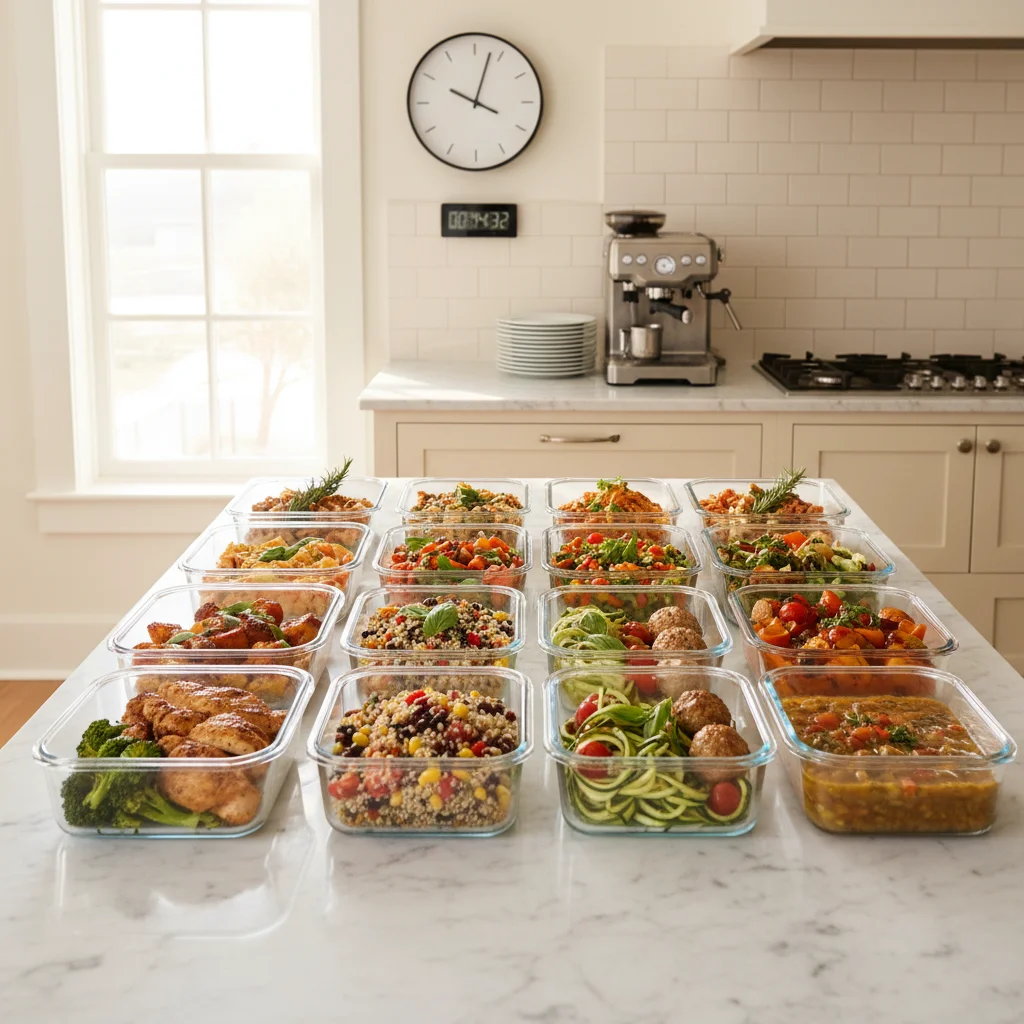
In our fast-paced world, finding time to cook healthy meals can feel like an impossible task. The allure of quick takeout or pre-packaged foods often wins out over preparing a nutritious home-cooked meal. However, what if there was a way to enjoy wholesome, delicious food without spending hours in the kitchen every single day? Enter batch cooking for beginners – a revolutionary approach to meal preparation that can transform your eating habits and free up your precious time.
Imagine having four days’ worth of healthy, home-cooked meals ready to go, all prepared in under two hours. Sounds like a dream, right? With batch cooking, this dream becomes a reality. This comprehensive guide will walk you through everything you need to know to become a batch cooking pro, even if you’ve never prepped a meal in your life. We’ll cover the ‘what,’ ‘why,’ and ‘how’ of batch cooking, providing you with practical tips, essential tools, and a step-by-step plan to get started. By the end of this article, you’ll be equipped with the knowledge and confidence to embrace batch cooking and reap its many benefits.
What is Batch Cooking and Why Should You Care?
At its core, batch cooking involves preparing large quantities of food or individual components of meals in one dedicated cooking session. Instead of cooking dinner from scratch every evening, you cook once or twice a week, and then assemble or reheat your meals throughout the following days. This isn’t just about making one big pot of chili; it’s about strategically preparing ingredients and dishes that can be mixed and matched to create diverse meals.
The Irresistible Benefits of Batch Cooking
Why has batch cooking for beginners gained such immense popularity? The reasons are compelling:
- Saves Time: This is arguably the biggest draw. By consolidating your cooking efforts, you free up hours during the week that would otherwise be spent shopping, prepping, and cooking daily. Imagine those extra evenings for hobbies, family, or simply relaxing!
- Saves Money: Eating out frequently adds up. Batch cooking allows you to buy ingredients in bulk when they’re on sale, reduce food waste, and avoid impulsive (and expensive) takeout orders.
- Reduces Stress: The dreaded ‘what’s for dinner?’ question can be a major source of daily stress. With meals prepped, that decision is already made, leaving you more mental bandwidth for other things.
- Promotes Healthy Eating: When healthy options are readily available, you’re far less likely to reach for unhealthy convenience foods. Batch cooking empowers you to control ingredients, portion sizes, and nutritional content.
- Reduces Food Waste: By planning your meals and using ingredients strategically, you’ll find yourself throwing away less spoiled produce or forgotten leftovers.
- Boosts Cooking Skills: Regular batch cooking sessions naturally improve your efficiency, knife skills, and understanding of flavor combinations.
For anyone looking to improve their diet, save money, and reclaim their evenings, batch cooking is a game-changer. It’s particularly beneficial for busy professionals, parents, students, or anyone who simply wants to streamline their life.
Getting Started: The Essential Tools for Batch Cooking Success
Before you dive into the delicious world of batch cooking, it’s helpful to have a few key tools on hand. You don’t need a professional kitchen, but these items will make your journey into batch cooking for beginners much smoother and more efficient.
Must-Have Kitchen Equipment
- A Good Set of Knives: A sharp chef’s knife and a paring knife are invaluable for efficient chopping and dicing.
- Large Cutting Board: A spacious cutting board allows you to prep multiple ingredients without constantly clearing space.
- Large Pots and Pans: You’ll be cooking in bulk, so a large stockpot, a big skillet, and a roasting pan are essential.
- Food Storage Containers: This is critical! Invest in high-quality, airtight containers – glass ones are excellent for reheating and durability, but BPA-free plastic works too. Different sizes are useful for various components and meals.
- Measuring Cups and Spoons: For accurate recipe execution.
- Basic Utensils: Spatulas, ladles, tongs, and whisks.
- Baking Sheets: For roasting vegetables or proteins.
- Slow Cooker or Instant Pot (Optional but Recommended): These appliances are fantastic for hands-off cooking of grains, stews, and shredded meats, saving you time and oven space.
Pantry Staples to Always Have
Having a well-stocked pantry is key to spontaneous (or planned) batch cooking. Here’s a list of versatile staples:
- Grains: Rice (brown, white, wild), quinoa, oats, pasta.
- Legumes: Canned or dried beans (black, chickpeas, kidney), lentils.
- Canned Goods: Diced tomatoes, tomato paste, coconut milk, broth/stock.
- Oils and Vinegars: Olive oil, vegetable oil, apple cider vinegar, balsamic vinegar.
- Spices and Herbs: A diverse collection of dried herbs and spices will elevate your meals. Don’t forget salt and pepper!
- Sweeteners: Honey, maple syrup, sugar.
- Nuts and Seeds: For snacks, toppings, or added protein.
- Flour: All-purpose or whole wheat.
With these tools and staples, you’re well on your way to becoming a batch cooking maestro.
The 2-Hour Batch Cooking Challenge: A Step-by-Step Plan
Now for the exciting part! This section outlines a practical strategy to prepare four days’ worth of meals in under two hours. The key is efficient planning and multitasking. We’ll focus on versatile components that can be combined in different ways.
Step 1: Plan Your Menu (20 minutes)
This is the most crucial step for successful batch cooking for beginners. Without a plan, you’ll waste time and energy.
- Choose Your Core Components: Select 2-3 protein sources, 2-3 vegetable options, and 1-2 grain/carb sources that cook well in larger quantities and can be used in different meals.
- Example Menu for 4 Days:
- Proteins: Baked Chicken Breast, Hard-Boiled Eggs, Canned Chickpeas (no cooking needed)
- Vegetables: Roasted Broccoli & Carrots, Mixed Greens (pre-washed)
- Grains/Carbs: Quinoa, Sweet Potatoes
- Flavor Boosters: Simple Vinaigrette, Hummus, Salsa
- Envision Your Meals: How will these components combine?
- Meal 1: Quinoa bowl with roasted chicken, broccoli, and hummus.
- Meal 2: Salad with mixed greens, chickpeas, hard-boiled eggs, and vinaigrette.
- Meal 3: Roasted sweet potato and carrot hash with shredded chicken.
- Meal 4: Chicken and roasted veggie wrap (using whole wheat tortillas you already have).
- Create Your Grocery List: Based on your chosen menu, list every ingredient you need, checking your pantry first.
Step 2: Grocery Shopping (Time Varies)
Stick to your list! Avoid impulse buys to save time and money. Consider going to the grocery store the day before your batch cooking session to save time on cooking day.
Step 3: The Cooking Marathon (1 hour 40 minutes)
This is where the magic happens. Multitasking is your best friend here. Follow these steps for maximum efficiency:
Phase 1: Prep & Preheat (20 minutes)
- Preheat Oven: Set your oven to 400°F (200°C) for roasting.
- Wash & Chop Veggies: While the oven preheats, wash and chop all your vegetables (broccoli florets, carrots into sticks, sweet potatoes into cubes). This is where your large cutting board and sharp knife shine.
- Start Grains: Get your quinoa or other grains cooking on the stovetop or in an Instant Pot. Follow package directions.
- Prepare Proteins: Season your chicken breasts with salt, pepper, and any desired herbs/spices. If you’re doing hard-boiled eggs, get them into a pot of cold water and onto the stove.
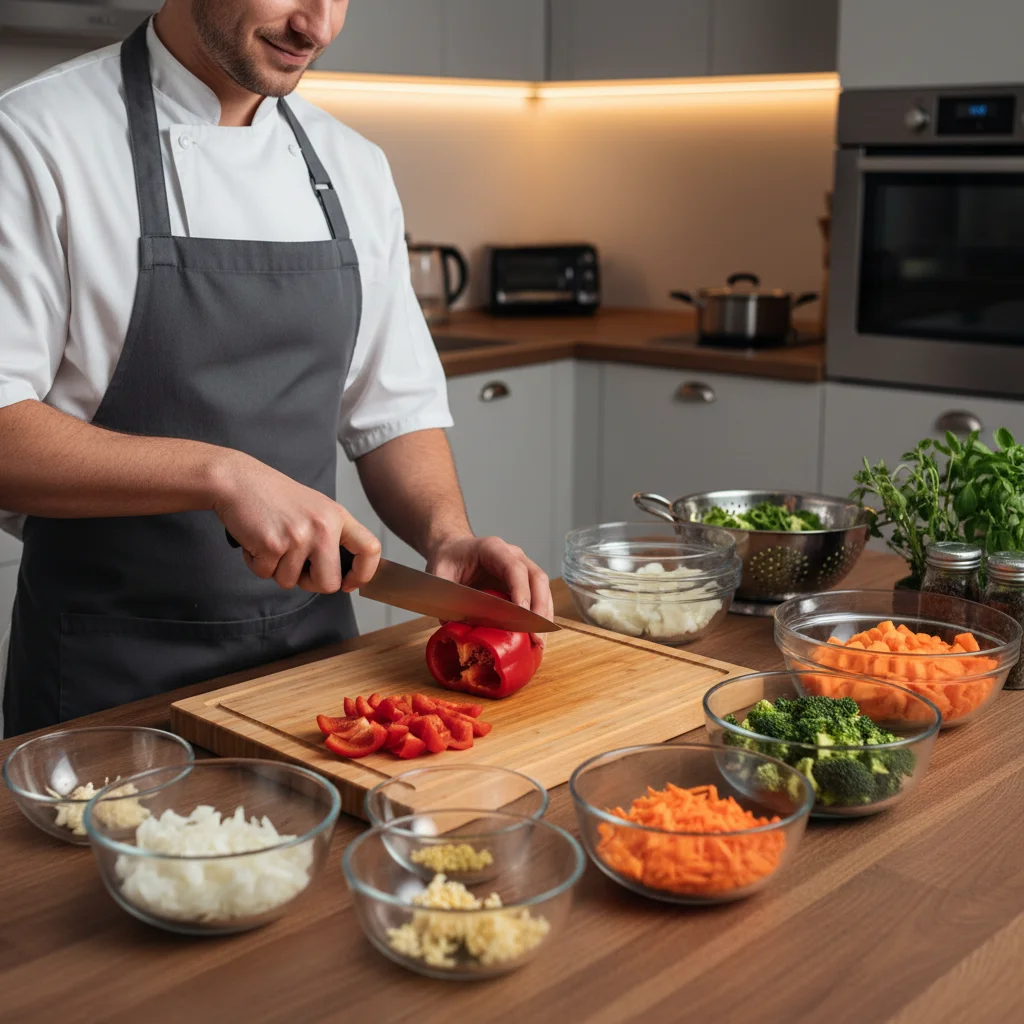
Phase 2: Active Cooking (60 minutes)
- Roast Vegetables: Toss chopped broccoli, carrots, and sweet potatoes with olive oil, salt, and pepper. Spread them on baking sheets and put them in the preheated oven. Roasting takes about 20-30 minutes, flipping halfway.
- Cook Chicken: While veggies are roasting, bake the chicken breasts alongside them (if your oven is large enough) or cook them in a large skillet on the stovetop. Baking usually takes 20-25 minutes at 400°F (200°C), or until cooked through.
- Finish Grains: Your quinoa should be done or nearly done. Fluff with a fork.
- Boil Eggs: Once the eggs come to a boil, let them cook for 8-10 minutes for hard-boiled. Immediately transfer to an ice bath to stop cooking and make peeling easier.
- Make Dressing/Sauce: While everything else is cooking, whip up a simple vinaigrette (olive oil, vinegar, Dijon mustard, salt, pepper) or prepare other flavor boosters like chopping herbs or preparing salsa.
Phase 3: Cool Down & Store (20 minutes)
- Cool Everything: This is critical for food safety! Allow all cooked components to cool completely before storing them. Spreading them out on baking sheets or plates can speed this up. Never put hot food directly into the refrigerator, as it can raise the temperature of other foods and create a breeding ground for bacteria.
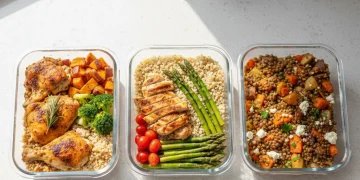
- Portion and Store: Once cooled, divide your components into your airtight containers. You can either:
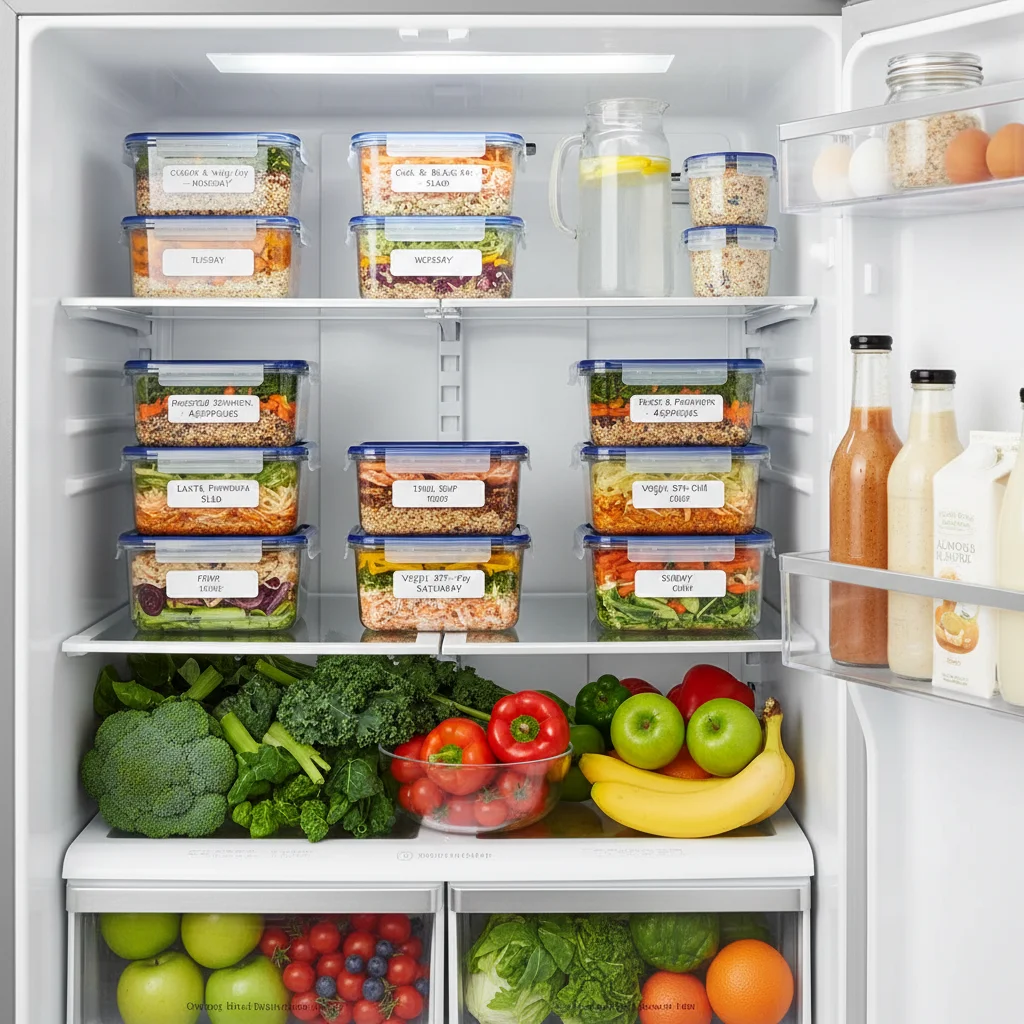
a) Component-Based Storage: Store each component (chicken, quinoa, roasted veggies) in separate containers. This offers maximum flexibility for mixing and matching throughout the week.
b) Meal-Based Storage: Assemble full meals directly into individual containers. This is great for grab-and-go convenience. - Label (Optional but Recommended): Label containers with the date and contents, especially if you’re new to batch cooking or storing items in the freezer.
Congratulations! You’ve just completed your first 2-hour batch cooking challenge. Take a moment to appreciate your well-stocked fridge and the time you’ve saved for the week ahead.
Beyond the Basics: Tips for Advanced Batch Cooking
Once you’ve mastered the fundamentals of batch cooking for beginners, you can start to incorporate more advanced techniques and ideas to keep your meals exciting and efficient.
Maximizing Flavor and Variety
- Marinades and Rubs: Marinate proteins overnight before cooking day to infuse flavor.
- Spice Blends: Experiment with different spice blends (e.g., taco seasoning, curry powder, Italian herbs) to give the same base ingredients completely different flavor profiles.
- Sauces and Dressings: Prepare a few different sauces or dressings (e.g., peanut sauce, pesto, ranch dressing) to add variety to your meals without much extra effort.
- Freezing: Many batch-cooked items freeze beautifully. Cooked grains, shredded chicken/meat, stews, and roasted vegetables can be frozen in individual portions for even longer-term meal solutions. This is excellent for ensuring nothing goes to waste and for those weeks when you have even less time.
- Theme Your Weeks: Try a ‘Mediterranean week’ or ‘Asian-inspired week’ to keep your menu interesting and utilize similar ingredients across different dishes.
Smart Storage Solutions
Proper storage is essential for maintaining freshness and preventing food spoilage. Here are some pro tips:
- Airtight Containers: Reiterate the importance of good containers.
- Layering: When assembling full meals, layer ingredients strategically. Put sauces or wet ingredients at the bottom, then grains, then proteins, and finally greens or fresh toppings on top to prevent sogginess.
- Portion Control: Use containers that match your desired portion sizes to make reheating and meal assembly even easier.
- Refrigerator Lifespan: Most batch-cooked meals will last 3-4 days in the refrigerator. If you’re prepping for longer, plan to freeze some portions.
Preventing Batch Cooking Burnout
It’s easy to get excited and overdo it initially. Here’s how to keep batch cooking sustainable:
- Start Small: Don’t try to prep for two weeks on your first go. Start with 3-4 days, as outlined in this guide.
- Don’t Be Afraid to Repeat: It’s okay to eat similar meals a few times a week, especially when you’re starting. Variety can come later.
- Involve Others: If you live with family or roommates, get them involved in the planning, shopping, or cooking process.
- Listen to Your Body: If you’re feeling overwhelmed, take a break or simplify your plan for that week. Batch cooking should reduce stress, not add to it.
- Celebrate Your Successes: Acknowledge the time and effort you’re saving. Enjoy the freedom and healthy eating!
Sample Recipes and Combinations for Your First Batch Cook
To help you kickstart your batch cooking for beginners journey, here are a few simple, versatile recipes and meal ideas using the core components we discussed earlier.
1. Baked Chicken Breast (Yields ~4 servings)
Ingredients:
- 4 boneless, skinless chicken breasts
- 2 tbsp olive oil
- 1 tsp salt
- 1/2 tsp black pepper
- 1 tsp garlic powder
- 1/2 tsp dried Italian herbs (or paprika, chili powder, etc.)
Instructions:
- Preheat oven to 400°F (200°C).
- Pat chicken breasts dry. In a bowl, toss chicken with olive oil, salt, pepper, garlic powder, and herbs.
- Place chicken on a baking sheet.
- Bake for 20-25 minutes, or until internal temperature reaches 165°F (74°C).
- Let rest for 5 minutes before slicing or shredding for various meals.
2. Roasted Mixed Vegetables (Yields ~4-6 servings)
Ingredients:
- 1 head broccoli, cut into florets
- 3-4 carrots, peeled and chopped into 1-inch pieces
- 2 medium sweet potatoes, peeled and cubed
- 2 tbsp olive oil
- 1/2 tsp salt
- 1/4 tsp black pepper
- Optional: 1/2 tsp garlic powder, rosemary, or thyme
Instructions:
- Preheat oven to 400°F (200°C).
- In a large bowl, combine broccoli, carrots, and sweet potatoes. Drizzle with olive oil, salt, pepper, and any optional seasonings. Toss to coat evenly.
- Spread vegetables in a single layer on one or two large baking sheets.
- Roast for 25-35 minutes, flipping halfway, until tender and slightly caramelized.
3. Fluffy Quinoa (Yields ~4 servings)
Ingredients:
- 1 cup quinoa, rinsed thoroughly
- 2 cups vegetable broth or water
- Pinch of salt
Instructions:
Meal Assembly Ideas:
- "Power Bowl": Layer cooked quinoa, roasted mixed vegetables, sliced baked chicken, and a drizzle of homemade vinaigrette. Add a sprinkle of feta cheese or toasted nuts for extra flavor and texture.
- "Quick Chicken Salad": Shred baked chicken and mix with a dollop of Greek yogurt or mayo, chopped celery, grapes, and a pinch of curry powder. Serve over mixed greens or in a whole wheat pita.
- "Sweet Potato & Egg Breakfast": Reheat cubed sweet potatoes, top with a sliced hard-boiled egg and a sprinkle of chili flakes.
- "Chickpea & Veggie Wrap": Mash canned chickpeas with a fork, mix with a little lemon juice, salt, pepper, and finely diced red onion. Spread onto a whole wheat tortilla, add mixed greens and roasted vegetables, and roll up.
These simple ideas demonstrate the versatility of your batch-cooked components. Feel free to mix and match according to your taste and what you have on hand.
Overcoming Common Batch Cooking Challenges
Even with the best intentions, you might encounter a few hurdles when you first start with batch cooking for beginners. Don’t get discouraged! These are common and easily overcome.
"My Meals Get Boring!"
This is the most frequent complaint. The solution lies in variety and strategic flavor additions:
- Rotate Proteins and Veggies: Don’t cook the same combination every week.
- Change Up Seasonings: Use different spices, herbs, and marinades for the same base ingredients.
- Sauces are Your Secret Weapon: A different sauce can completely transform a meal. Think pesto, salsa, hummus, tzatziki, hot sauce, or a simple lemon-tahini dressing.
- Fresh Toppings: Add fresh herbs, chopped avocado, a squeeze of lime, toasted seeds, or a dollop of yogurt just before eating to add freshness and texture.
"It Still Takes Too Long!"
If your session is creeping past the two-hour mark, consider these:
- Streamline Your Workflow: Are you doing things in the most efficient order? Multitasking is key.
- Simplify Your Menu: Perhaps you’re trying to cook too many complex dishes. Stick to 3-4 simple components.
- Pre-Prepped Ingredients: Don’t hesitate to buy pre-chopped vegetables or pre-cooked grains if you’re really short on time. While often more expensive, they can be lifesavers on busy weeks.
- Focus on One Appliance: If you’re constantly moving between stovetop and oven, try to plan meals that maximize one appliance at a time.
"Food Doesn’t Last Long Enough."
Food safety and proper storage are paramount:
- Cool Completely: As mentioned, never put hot food directly into the fridge.
- Airtight Containers: Ensure your containers are truly airtight to prevent spoilage and freezer burn.
- Refrigerator Temperature: Make sure your fridge is set to 40°F (4°C) or below.
- Freezing: If you need food to last longer than 3-4 days, plan to freeze portions.
"I Don’t Know What to Cook."
Recipe fatigue is real. Combat it by:
- Building a Recipe Bank: Keep a running list of your favorite batch-friendly recipes.
- Online Resources: Follow batch cooking blogs, Pinterest boards, or YouTube channels for inspiration.
- Cookbooks: Many cookbooks are dedicated to meal prep and batch cooking.
Remember, batch cooking is a skill that improves with practice. Each session will teach you something new about your preferences and efficiency. Be patient with yourself, and enjoy the process of creating a more organized and delicious week!
Conclusion: Embrace the Power of Batch Cooking
You’ve now got the blueprint for transforming your kitchen routine and your relationship with food. From understanding the immense benefits to executing a 2-hour cooking challenge and troubleshooting common issues, this guide has provided you with everything you need to begin your journey with batch cooking for beginners.
By dedicating a small amount of time once or twice a week, you’re not just cooking meals; you’re investing in your health, your finances, and your peace of mind. No more frantic weeknight cooking, no more expensive takeout, and no more compromising on nutritious eating. Instead, you’ll open your fridge to a bounty of healthy, delicious options, ready to fuel your busy days.
Start small, be consistent, and don’t be afraid to experiment. The world of batch cooking is incredibly flexible and adaptable to your unique needs and tastes. So, grab your knives, clear your counter, and get ready to experience the incredible freedom and satisfaction that comes with mastering the art of batch cooking. Your future self (and your wallet!) will thank you.
Happy prepping!